Mudjacking vs. Replacing a Sunken Slab by Your Foundation
Sunken slab leaning toward your foundation? Learn when mudjacking beats replacement, what it costs, and how it helps prevent basement water issues.
A call about a slab sending water toward the basement
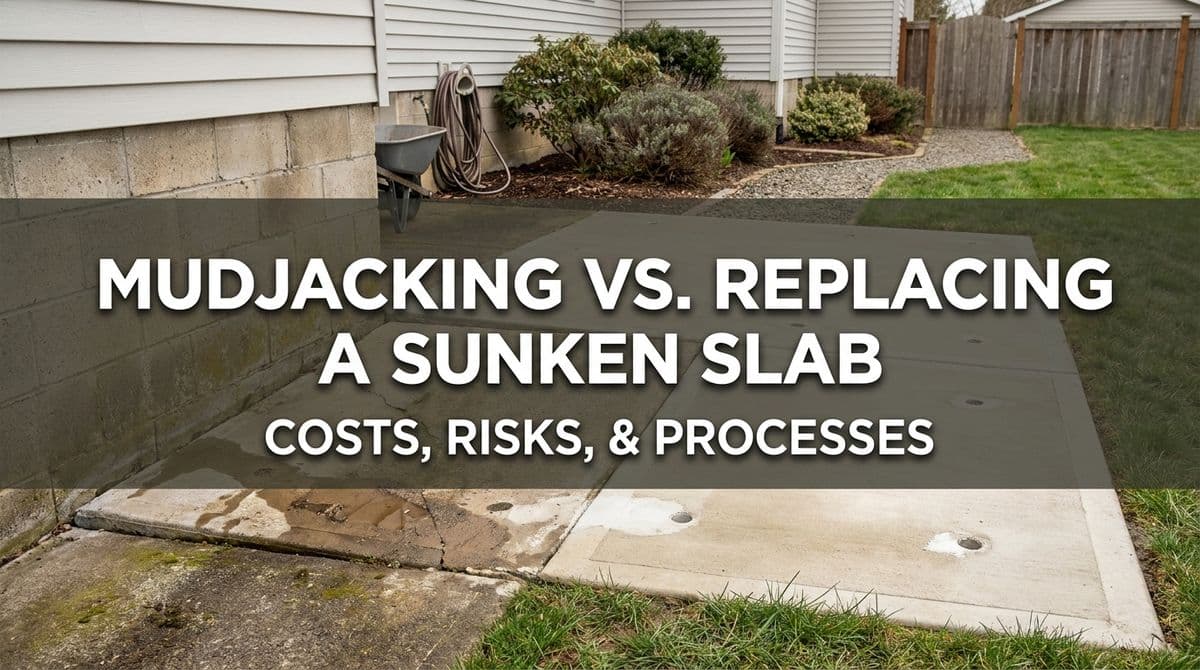
We recently got a call from a homeowner — let’s call him Jake — who was getting ready to move into a new place. Along the side of his garage, he had a concrete slab about 5 feet by 20 feet that used to be a dog run. The problem? That slab had settled and was sloping hard toward the house, and water was finding its way into the basement.
Jake was torn between two options: crush and remove the slab himself and regrade the area, or have us come out and lift it (mudjacking) so it would pitch away from the foundation. His big questions were the same ones we hear all the time:
- “Is mudjacking really going to fix the drainage problem long-term?”
- “What does the process actually look like?”
- “Are we talking a few hundred dollars or thousands?”
In Jake’s case, the slab was in good shape (no major cracks), but it had sunk about 4–6 inches along the house side. That’s a perfect example to walk through how mudjacking compares to full slab replacement next to a foundation.
When mudjacking is a smart alternative to replacing concrete
With Jake, the first thing we focused on was the condition of the concrete. The slab was solid and uncracked — just badly settled and sloped the wrong way. In situations like that, mudjacking can make a lot of sense.
Here’s when we usually recommend mudjacking instead of replacement:
- The slab is structurally sound (no major breaks or crumbling).
- Settlement is in the range of a few inches (like Jake’s 4–6 inches).
- The slab is close to your house or garage, where drainage really matters.
- You’re trying to correct slope and improve water runoff without a big, messy tear-out.
If the slab is badly broken, paper-thin, or heaved by tree roots, that’s when we start talking about replacement instead. But when it’s simply settled, mudjacking can restore both the height and the pitch for a fraction of the cost of new concrete.
Cost: mudjacking vs. replacing a sunken slab by your foundation
Jake’s next big concern was budget. He asked us straight out: “Are we talking a couple hundred, or thousands?” For a 5x20 slab next to a garage that needs to come up 4–6 inches, here’s the ballpark we walked him through.
Mudjacking cost range
For a slab like Jake’s, we estimated around $1,500–$1,800, sight unseen. There are a few variables that affect the final price:
- How far it’s sunk (more lift = more material).
- Access (tight spots can take more time).
- Length and width of the slab (more square footage to support).
It’s definitely not a “couple hundred dollar” project, but it’s usually well under what full replacement costs once you factor in demo, hauling, and finishing.
Typical replacement costs
Replacing a similar slab by your foundation usually adds up quickly:
- Demolition and removal of the old slab.
- Disposal fees for the broken concrete.
- Base preparation, forming, and rebar (if needed).
- New concrete, finishing, and curing time.
Depending on your market and site conditions, it’s common for replacement to run significantly more than mudjacking for the same area — often double or more, especially right up against a house where forming and finishing are trickier.
Drainage and basement water: what homeowners often miss
One thing Jake had already noticed was water getting into the basement under that slab because it pitched toward the house. His first thought was to break out the slab and regrade the soil. That can help, but there’s a catch we always explain.
When you remove a slab and bring in new fill, that soil takes time to settle and compact. If it isn’t compacted well, or if it settles unevenly over the first few years, you can still end up with water draining back toward the foundation — even with new concrete on top.
With mudjacking, we’re doing two things at once:
- Filling voids beneath the slab where soil washed away or settled.
- Compacting the base as we pump material under pressure.
That means you’re not just raising the concrete; you’re stabilizing the support underneath, which is huge for long-term drainage around a foundation.
How mudjacking actually works (step-by-step)
Jake had watched a YouTube video, but he hadn’t seen mudjacking in person. We walked him through exactly what we’d do on his slab:
- Inspect and measure
We check the thickness of the slab, how far it’s sunk, and how close it is to the foundation. We also determine the target slope so water runs away from the house. - Drill small holes
We drill a pattern of small holes through the slab. These are our injection points for the lifting material. - Pump in crushed limestone
Under high pressure, we pump a slurry made from crushed limestone — think of the material you see on a baseball infield. As it flows under the slab, it fills voids, compacts the soil, and starts to lift the concrete. - Monitor and fine-tune the lift
We watch the slab closely as we pump, lifting slowly to reach the right height and pitch. Near a foundation, we’re very careful to get the water to shed away from the wall. - Seal and clean up
We patch the drill holes with a cement-based mix, clean the area, and leave any excess limestone that squeezes out the sides. You can cover that with topsoil, rock, or landscaping.
The result is a slab that’s back where it was meant to be, with improved drainage and a stabilized base — usually all in a few hours.
Protecting the foundation after lifting: sealing and grading
For Jake, mudjacking was only part of the plan. He was also thinking about adding a membrane against the garage wall and bringing in more fill. That’s exactly the kind of “belt and suspenders” approach we like to see around a foundation.
Here’s what we typically recommend after lifting a slab next to a house or garage:
- Seal the joint between the slab and the foundation with a high-quality, exterior-grade sealant to limit water entering that gap.
- Add compacted fill (class 5, gravel, or well-compacted soil) in any low areas along the edge.
- Maintain positive slope for at least the first 4–6 feet away from the house.
- Consider a waterproof membrane on the foundation wall if water issues have been persistent.
Done together, mudjacking plus good sealing and grading can dramatically reduce the risk of basement leaks from surface water.
Which is right for you: mudjacking or replacement?
If your concrete is badly cracked, thin, or falling apart, replacement is probably the best long-term play. But if you’re like Jake — solid slab, just sunk and sloping toward the house — mudjacking can be a cost-effective way to fix drainage, protect your basement, and avoid a full tear-out.
If you’re not sure which camp your slab falls into, the best next step is a quick on-site look. We can measure how far it’s dropped, check its condition, and give you a firm quote along with an honest recommendation: lift it, replace it, or sometimes a combination of both.