Helical Piers vs. Concrete Footings for Gazebos
Planning a gazebo or pergola in a windy backyard? Here’s how we choose between helical piers and concrete footings to keep it safely anchored.
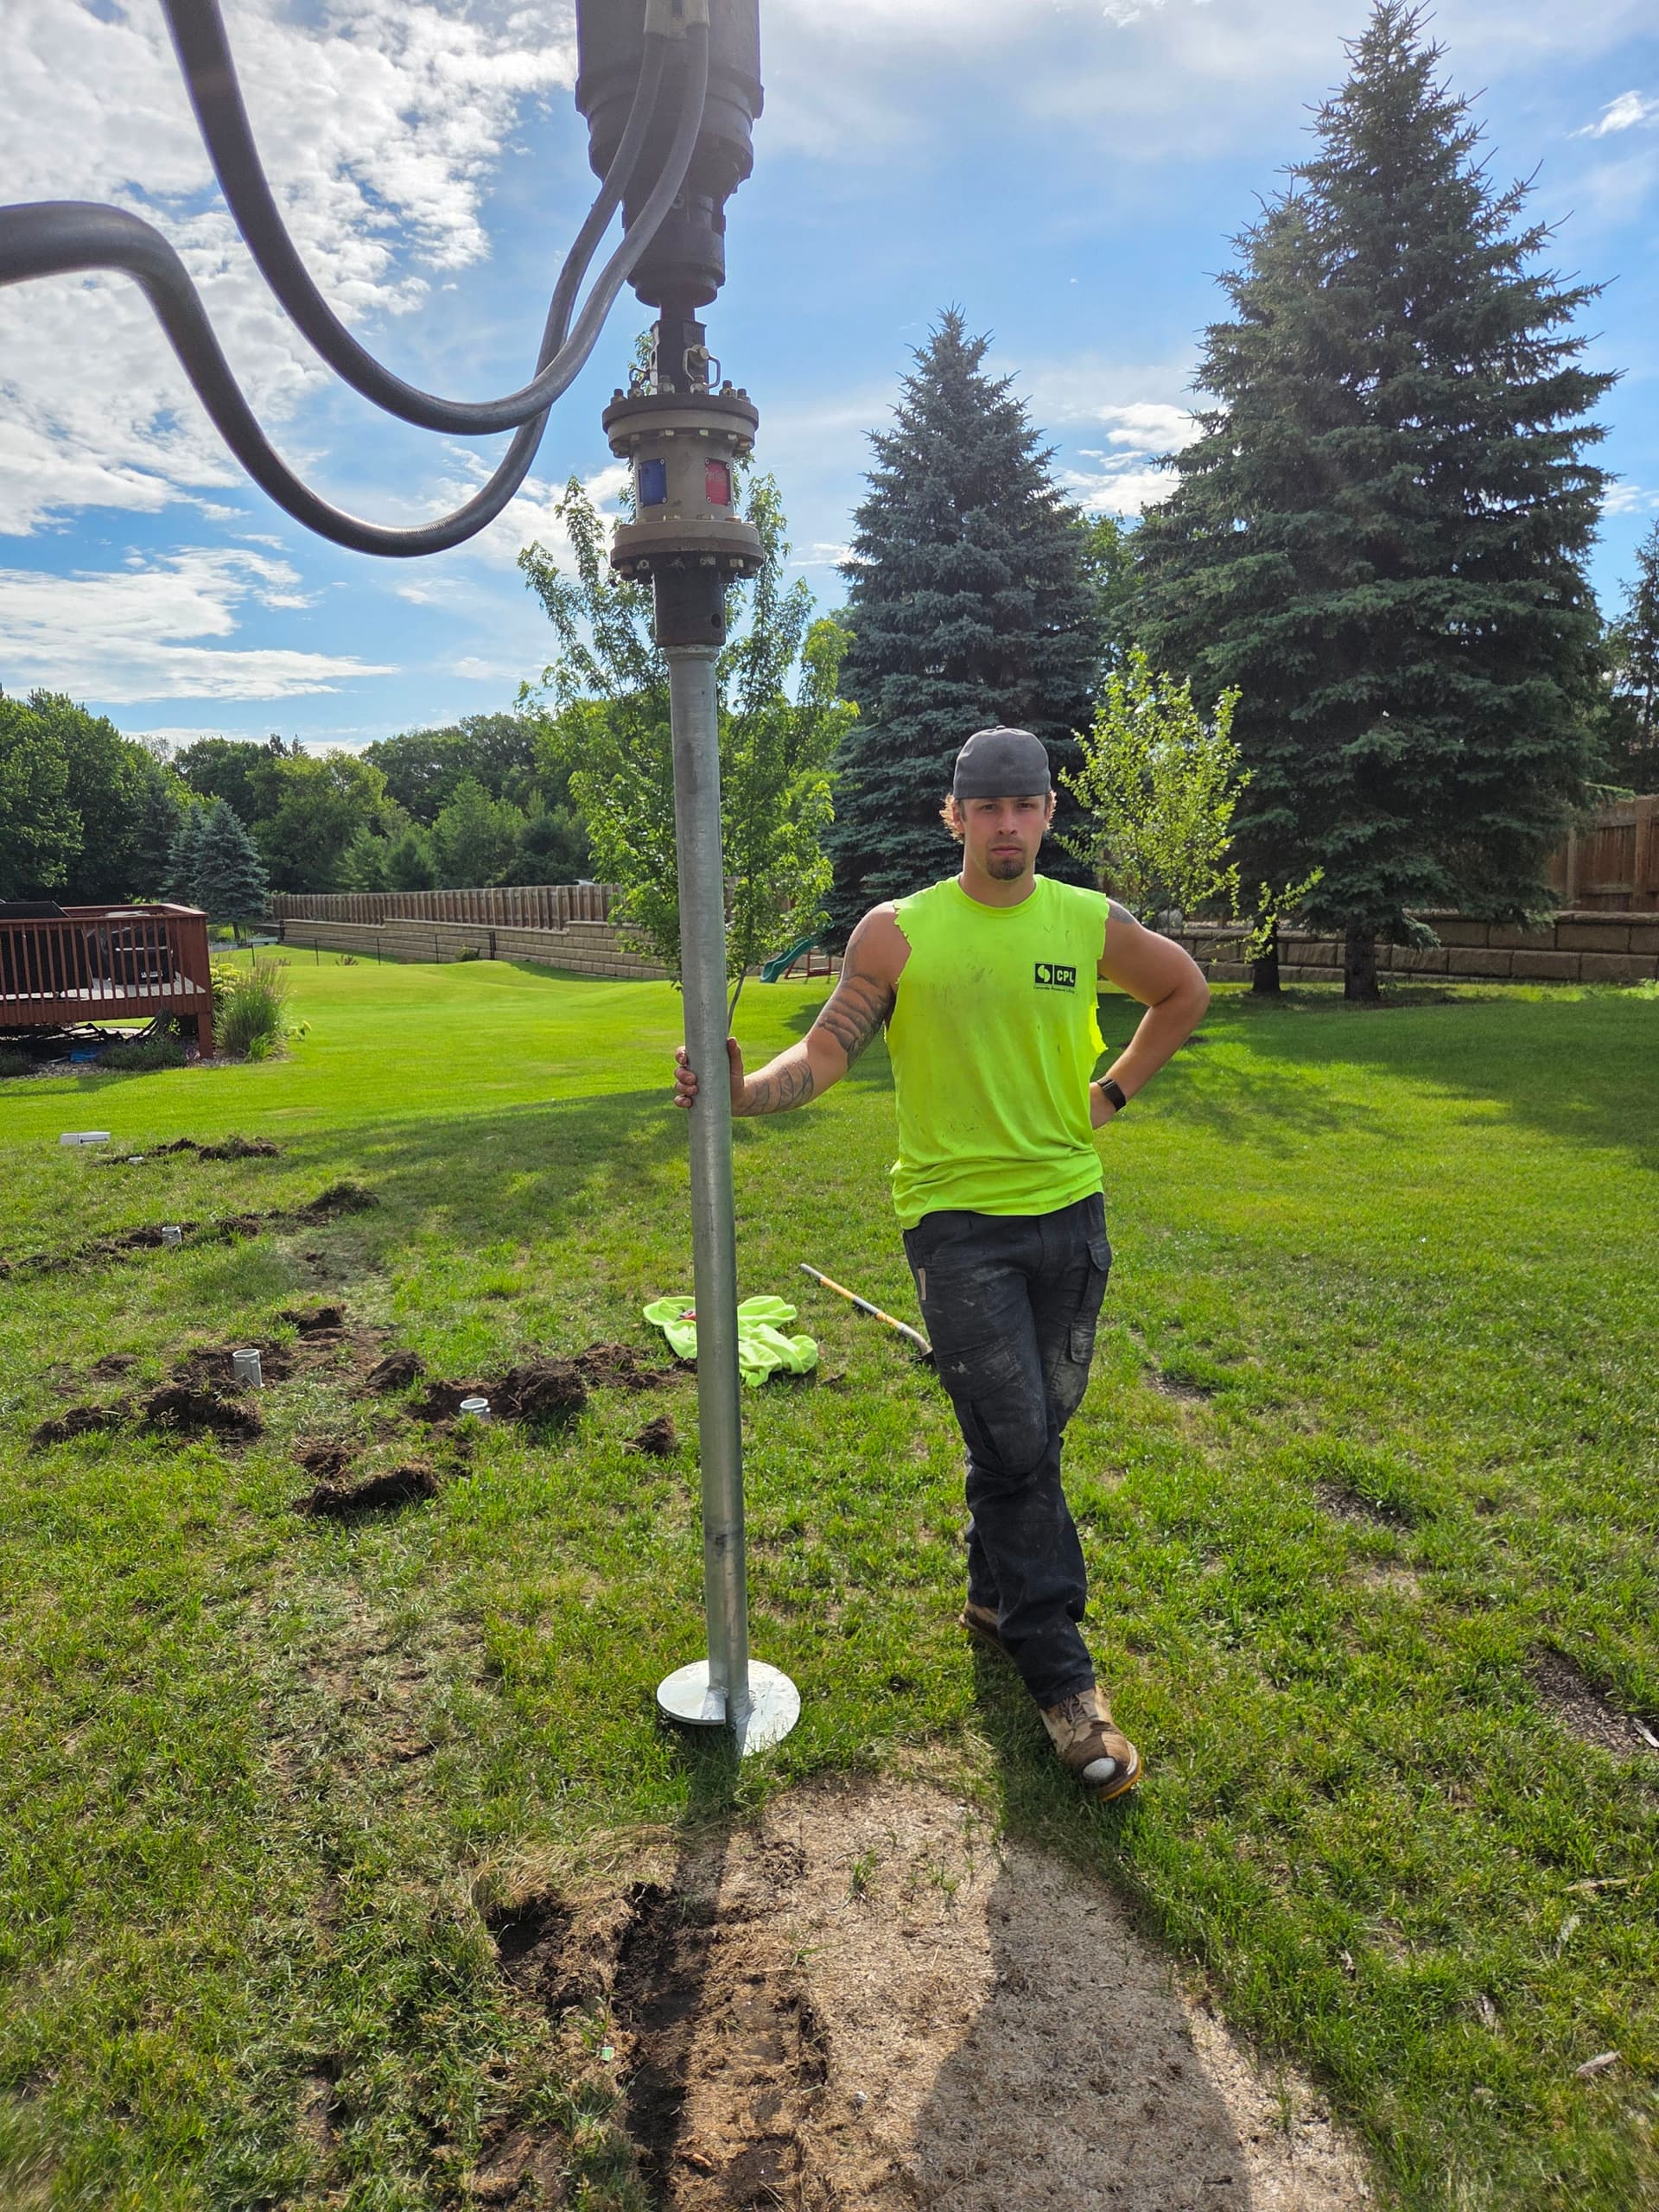
Helical Piers vs. Concrete Footings: A Real Backyard Question
We recently got a call from a homeowner — let’s call him Mark — who had a brand-new, full-roof gazebo sitting in boxes by the side of his house. His backyard was beautiful but tricky: multiple terrace levels, a pool, concrete patios, a fire pit, even a putting green. On a windy lot like his, just setting the gazebo on pavers or surface brackets wasn’t an option.
Mark’s big question to us was simple: “Should I use helical piers or concrete footings to anchor this thing so it doesn’t go flying in a storm — and what’s the most cost-effective way to do it?”
We walked him through exactly how we think about this decision, and we’ll share that same process here so you can figure out what’s best for your own gazebo or pergola.
Step One: Start With the Manual, Not the Anchors
The very first thing we asked Mark for was the product and installation manual for his gazebo. He had a 15' x 17' structure with four posts and a fixed roof, and that manual tells us a few key things:
- Required footing size or pier capacity
- Exact post locations and spacing
- Recommended anchoring method and bracket type
- Any engineering or wind-load ratings
If you’re planning a gazebo or pergola, we strongly recommend you:
- Find the installation manual (PDF download if you’ve lost the paper copy)
- Look for sections titled “Footings,” “Anchoring,” or “Foundations”
- Save or print the diagrams that show post locations and brackets
We never choose between helical piers and concrete footings in a vacuum — we match the foundation to what the structure was designed for.
Helical Piers: When They Make Sense for Gazebos
We install a lot of helical piers for decks and new construction, so naturally Mark had seen them online and thought they might be easier. In the right situation, they can be.
Pros of helical piers
- Fast installation: No digging large holes, no waiting days for concrete to cure.
- Clean and precise: Great in tight or finished areas (near pools, patios, or landscaping).
- Works in poor soils: We can screw down to stable bearing soil.
- Minimal mess: Less spoil to haul away and less disruption to the yard.
But there are also two big questions we always check before recommending helical piers for a gazebo or pergola:
- Lateral load: Wind doesn’t just push down; it pushes sideways. We check with our pier supplier to confirm the pier and bracket can safely resist the sideways (lateral) load from a roofed structure in your wind conditions.
- Bracket compatibility: The pier brackets we stock were originally designed for decks. We make sure they properly fit the gazebo posts and match the manufacturer’s requirements.
With Mark, we reached out to our vendor with his manual and post layout so we could verify both the lateral capacity and bracket options before giving him a firm answer.
Concrete Footings: Still the Workhorse Option
Before he’d heard about helical piers, Mark assumed he’d need traditional concrete footings under each of the four posts. That’s still a very solid, time-tested choice.
Pros of concrete footings
- Widely accepted: Building departments, engineers, and most manuals are written around concrete footings.
- Excellent for lateral load: A properly sized, reinforced footing resists both uplift and sideways wind forces.
- Flexible for brackets: Easy to set standard post bases or custom hardware in wet concrete.
- Often cheaper in materials: Concrete and rebar can be less expensive than multiple helical piers.
The trade-off is that footings usually mean:
- More digging (especially on sloped or terraced yards)
- Concrete trucks, wheelbarrows, and more disruption
- Waiting on cure time before you can build
In a tight, finished backyard like Mark’s — with pool decks, retaining walls, and fencing — access is a big part of the decision.
Windy, Terraced Backyards: Special Considerations
Mark’s yard had multiple levels, rock walls, a pool fence, and limited gate width. That raised two important questions that apply to a lot of homeowners:
- How will we get equipment to the gazebo location?
- What kind of wind exposure does the structure have?
Here’s what we typically look at in windy or complex backyards:
- Access for equipment: A mini-excavator can install helical piers quickly, but we need a way in. Sometimes it’s easier to temporarily remove a fence panel and protect the neighbor’s yard with plywood — exactly what we discussed with Mark.
- Terrace stability: We want to avoid undermining retaining walls or disturbing pool decks. That may influence footing size and placement.
- Wind exposure: Open lots, hills, and corners of the yard tend to get more gusts, so we may upsize footings or choose a system with better lateral resistance.
So Which Is Better: Helical Piers or Concrete Footings?
Homeowners always want a clear winner, but the honest answer is: it depends on your yard, your gazebo, and your budget. Here’s how we usually guide the decision:
- We lean toward helical piers when:
- Access for a mini-ex is practical
- The manufacturer allows or supports pier-type foundations
- We can confirm adequate lateral load capacity and proper brackets
- You want less mess and faster installation around finished landscaping
- We lean toward concrete footings when:
- The manual specifically calls for concrete footings
- Wind exposure is significant and we want maximum lateral resistance
- Access is tight but hand-digging is feasible
- Local code officials prefer or require concrete
Practical Tips Before You Anchor Your Gazebo or Pergola
If you’re where Mark was — staring at a boxed gazebo and a windy backyard — here are a few steps to take before you start digging:
- Gather documents: Have your manual, drawings, and post layout ready.
- Check local code: Call your city to see if permits or inspections are required.
- Call before you dig: Always have utilities located before drilling, augering, or excavating.
- Document your site: Take wide and close-up photos of the yard, slopes, and access points.
- Talk through wind and snow: Share honestly how exposed your yard is and what kind of storms you see.
That’s exactly the process we used with Mark: review the manual, study the yard (even via Google Maps to start), confirm what the hardware can safely handle, and then choose the foundation system that keeps the gazebo safe, sturdy, and cost-effective for the long haul.